
The Ultimate Layered Brownie Recipe for Chocolate Lovers!
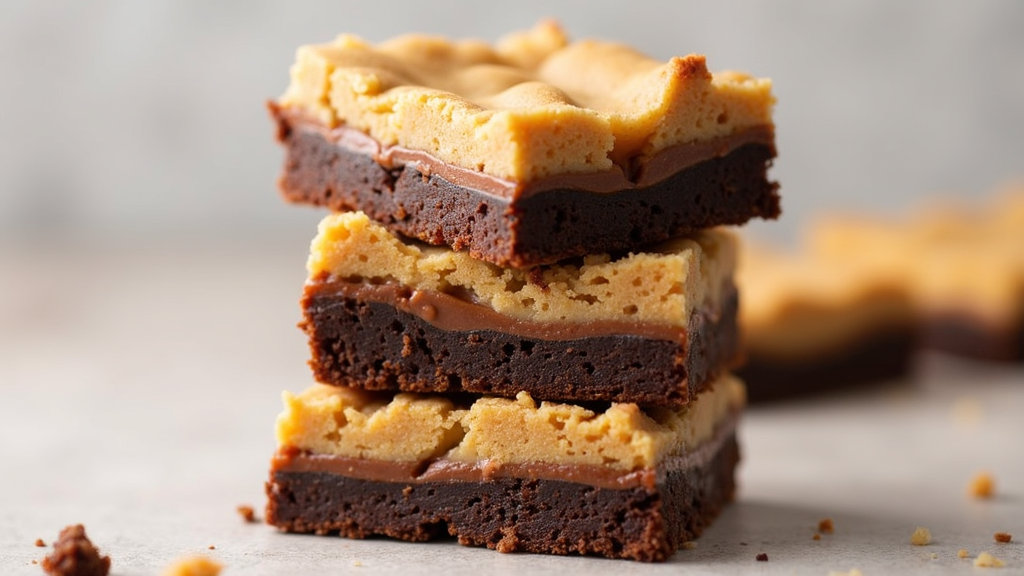
When I’m in the mood for a dessert that’s part brownie, part cookie, and part fudge, layered brownies are my go-to option. The different textures from soft brownie base, smooth ganache, and a chunky cookie layer just work so well together. These brownies look fancy but are totally doable in any home kitchen, with no special equipment or hard to find ingredients.
I’ve made these at bake sales, family parties, and quiet nights in, and they always disappear fast. There’s something really fun about biting into layers, with each one bringing its own unique flavour—from fudgy chocolatey bottom, to a creamy chocolate middle, to a buttery, sweet top. If you’re after a satisfying chocolate treat, this recipe covers all the bases and is sure to be a hit with anyone who tries it.
Why These Layered Brownies Stand Out
- No stand mixer needed. Everything comes together with bowls and a whisk or spoon.
- Chocolate on chocolate. You get both a rich brownie layer and a glossy ganache.
- Fun for experimenting. Mix up the cookie layer with nuts, sprinkles, or even candy pieces for your own twist.
- Perfect for all occasions. They shine at potlucks, birthdays, or even just as a midnight snack. Everybody loves a stacked treat!
What You’ll Need: Ingredients List
All you need for these decadent layered brownies is pretty standard pantry stuff and a few extras for the ganache and cookies on top.
- 3/4 cup (1 1/2 sticks) unsalted butter, melted
- 1 1/2 cups granulated sugar
- 2 large eggs
- 1 teaspoon vanilla extract
- 3/4 cup all purpose flour
- 1/2 cup unsweetened cocoa powder
- 1/4 teaspoon salt
- For the chocolate ganache layer: 1 cup semisweet chocolate chips + 1/2 cup heavy cream
- For the cookie top layer: 1/2 cup unsalted butter, softened
- 1/2 cup brown sugar
- 1 large egg yolk
- 1/2 teaspoon vanilla extract
- 1 cup all purpose flour
- 1/2 teaspoon baking soda
- 1/4 teaspoon salt
- 3/4 cup chocolate chips or chunks
How To Make Layered Brownies: Step-By-Step
1. Bake the Brownie Base
Preheat your oven to 350°F (175°C). Line an 8-inch square pan with parchment or grease it well. Whisk together melted butter and sugar, then add eggs and vanilla. Stir in the flour, cocoa powder, and salt until just mixed. Pour this thick, chocolatey batter evenly into your pan and get ready for that delicious scent as it bakes.
2. Make the Ganache
While your brownies are cooling, warm the cream until just simmering. A microwave for 30-45 seconds works great. Pour it over chocolate chips in a heatproof bowl. Let it sit for 2-3 minutes, then stir until smooth and glossy. This ganache sets to a velvety, sliceable layer that takes your brownies up a level.
3. Whip Up the Cookie Dough Topping
Cream softened butter with brown sugar in a small bowl. Mix in the egg yolk and vanilla. Stir together the flour, baking soda, and salt, then add that dry mix to your wet ingredients. Fold in chocolate chips. Drop spoonful’s of this dough over the cooled ganache layer and gently spread to cover most of the surface. Don’t stress over small gaps, since it will spread as it bakes.
4. Layer It All Up
Once the brownie base has baked and cooled for about 15 minutes, pour the ganache over it and spread smoothly. Carefully top with the cookie dough, then bake for 15 more minutes until the cookie top is golden brown. Cool completely before slicing for sharp, clean layers. Waiting can be the hardest part!
Tasty Variations & Helpful Tips
- Chill the brownies fully before slicing to get the best look at those beautiful layers.
- Try swapping chocolate chips in the cookie top for white chocolate or even peanut butter chips if you like to mix in some variety.
- Add nuts or shredded coconut to any layer if you enjoy extra crunch and flavour.
- Store these covered at room temp for up to 3 days, or keep them in the fridge if you want them even fudgier. They freeze well, too!
Layered Brownie Questions People Ask Me
How do I get neat layers when slicing?
Let the brownies cool and then chill them in the fridge for at least an hour before cutting with a sharp knife. Wipe your knife clean between slices for that bakery look.
Can I freeze these brownies?
Definitely. Slice them first, wrap tightly, and freeze for up to 2 months. Thaw in the fridge, or eat them straight from the freezer if you love that dense, cold bite.
What if I don’t have heavy cream for the ganache?
Milk works if you’re in a jam, although the layer won’t set quite as thick and creamy. Coconut cream is a solid, dairy free swap that still gives a rich result.
Get Baking and Share Your Stacks!
I always have a blast making and eating these layered brownies, and I’m pretty sure you’ll love them too. Each layer adds something special, and there’s no wrong way to add your personal spin. Bake a batch, snap a photo, and tell me how your twists turn out. Happy baking, and treat yourself to every chocolatey bite you cut!